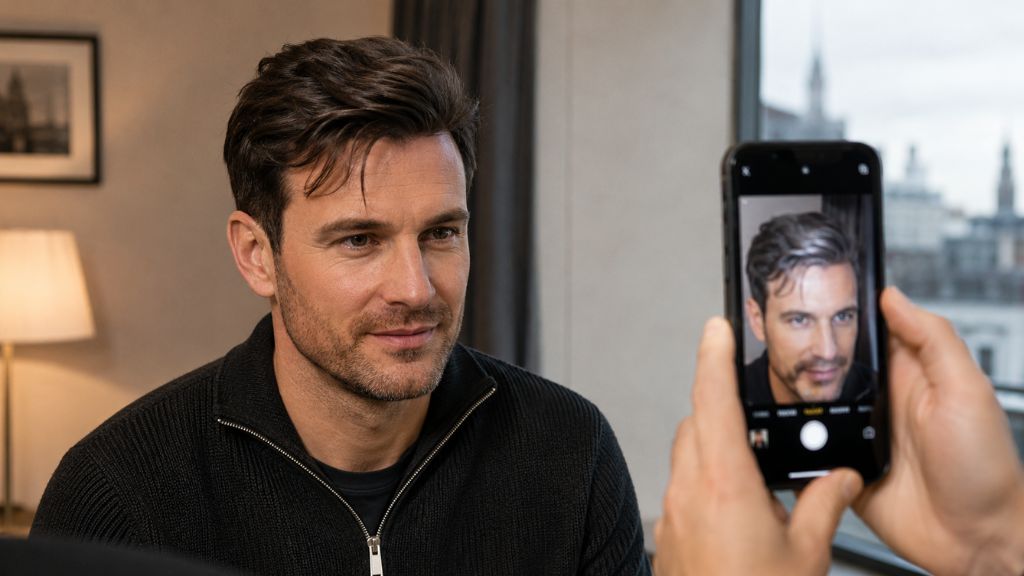

A hair system that looks completely convincing in the mirror can look obviously unnatural in photographs and the gap between those two experiences is not random. Cameras capture light differently from how human eyes perceive it, and several specific features of a hair system that the eye smooths over in real life become visible the moment a flash fires or bright light catches the base from the wrong angle. The causes are specific and almost always fixable. Understanding why photos expose what mirrors hide helps you identify exactly what needs adjusting whether that is a product change, a positioning habit, or a conversation with your technician at the next appointment. This guide covers every reason a hair system looks unnatural in photos and what to do about each one.
Why Cameras See Things Your Eyes Do Not
The human eye is extraordinarily good at processing complex visual information in real time adjusting for lighting conditions, filling in contextual detail, and making sense of what it is looking at using accumulated experience. When you look in the mirror, your brain is interpreting the whole picture, including colour, movement, texture, and context simultaneously.
A camera captures a single frozen moment under fixed lighting conditions with no contextual processing. This is why photos reveal things that feel invisible in person:
Cameras flatten depth. The three-dimensional texture of natural hair the way individual strands catch and reflect light differently depending on their angle collapses in a two-dimensional photograph. Features that look three-dimensional in person, like a natural-looking hairline, can look flatter and more uniform in a photo.
Flash creates a specific problem. The direct, frontal light of a phone camera flash eliminates shadows and shadows are what give hair its natural texture and depth. Under flash, fine lace becomes semi-transparent. The base material, which looked invisible in natural light, reflects the flash back toward the camera in a way that makes it visible.
Cameras are more sensitive to certain light frequencies. UV and infrared frequencies that human eyes barely register can be captured by camera sensors. Lace base material, particularly fine French lace, reflects light in these frequencies in a way that makes it visible in photos even when it appears completely invisible in person.
This is not a failure of the system. It is a camera optics problem that affects some systems and some lighting conditions and it is manageable once the specific cause is identified.
Cause 1: Flash Photography and the Lace Visibility Problem
This is the most common reason a hair system looks obviously unnatural in photos particularly photos taken with a phone camera flash indoors.
Fine lace bases are designed to be undetectable in natural or diffuse light. The lace fibres are thin enough that they blend visually with the scalp. In direct flash photography, however, the lace acts as a semi-reflective surface the flash bounces off the lace at the hairline and produces a tell-tale shine or an area of different reflectivity that photographs as a visible line or patch where the base edge meets the skin.
This effect is most pronounced at the hairline, the front edge of the system where the lace is thinnest and where the transition between the base material and natural skin is most visible when lit directly from the front.
What helps:
Avoiding direct flash is the most immediate fix. Most modern smartphones allow flash to be disabled manually for indoor photos, turning flash off and compensating with ambient light or a ring light produces significantly more natural-looking results than direct phone flash.
When flash cannot be avoided, positioning matters. Direct, flat flash is the most exposing light for a lace hairline. Angled lighting where the flash or light source comes from the side rather than directly in front produces shadows that disguise the base edge rather than illuminating it flat.
A hairline concealer powder applied along the base edge before photography also helps it reduces the contrast between the base material and the skin at the point where the lace is most visible under direct light.
Cause 2: Scalp Show-Through at the Parting or Crown
In photos taken in bright light or from above the angle most common in social settings where someone else is holding the camera the area of the scalp visible through the parting or at the crown can show the base material rather than looking like a natural scalp.
Natural hair parts reveal scalp skin; the scalp has texture, pores, and colour variation. A system’s base material, even when well-matched to the skin tone, often reflects light differently from natural scalp and can appear flat or slightly artificial at the parting line under direct overhead light.
This is most visible in:
- Overhead lighting situations bright ceiling lights, outdoor midday sun from above, downlights at events
- Photos taken from above by someone taller or holding the phone at arm’s length above the subject
- Systems where the parting position does not match the natural hair’s original parting line, or where hair density at the parting is slightly high, showing less natural spacing between strands
What helps:
A scalp concealer product applied along the visible parting line before photography reduces the contrast between the base material and natural scalp, making the parting read as skin rather than base. These products are available in skin-tone matched shades and are applied with a small brush or sponge directly to the visible scalp area.
Adjusting the parting position slightly away from the most direct light source also changes how the scalp area reads in the photo. A parting that falls slightly off-centre catches overhead light differently than a centre parting directly under a light source.
Cause 3: Colour Mismatch That Is More Visible Under Bright Light
A colour match that looks convincing in the salon or bathroom mirror under the specific lighting conditions present at those moments can look noticeably different in outdoor daylight, in the flash of a photo, or in different artificial lighting.
Colour matching is fundamentally a lighting-dependent process. Human eyes adapt to different light temperatures; the brain compensates for the difference between warm indoor light and cool outdoor daylight in a way that cameras do not. A system that was colour-matched under warm salon lighting may be slightly too warm when photographed under cool outdoor daylight. A system matched under fluorescent office lighting may read differently under the tungsten-toned light of a restaurant.
The specific ways colour mismatch shows up in photos:
- The system hair reads as slightly different in tone to the natural hair visible at the sides and back a contrast that is less visible in person but becomes noticeable when both areas are captured simultaneously in a photo
- The colour appears too dark or too light relative to the surrounding natural hair in certain lighting
- The system hair has an unnatural sheen or flatness compared to the natural hair around it
What helps:
Accurate colour matching in natural daylight rather than under artificial salon lighting is the correct fix at the source. If the system was matched indoors, discuss a colour reassessment at your next appointment, specifically in natural light conditions.
In the shorter term, styling the hair in a way that blends the system hair and natural hair at the transition zones rather than leaving them sitting as visually distinct sections reduces the visible contrast in photos.
Cause 4: The Hairline Edge Looks Too Perfect or Too Straight
Natural hairlines are not straight lines. They have variation, small irregularities, baby hairs at the temples, different density at the very front compared to slightly behind it. A system hairline that was designed with a perfectly even, smooth front edge can look convincing in person but read as slightly artificial in the unforgiving clarity of a photograph, where the straightness of the edge becomes more apparent.
This is a design issue rather than a maintenance issue, and it is one that is addressed at the fitting stage; a correctly designed hairline should incorporate natural-looking variation at the front edge. If the hairline is already fitted and the edge is too even, there are partial fixes available without starting from scratch.
What helps:
A very small amount of hairline concealer applied with a fine brush along the edge not to cover the lace but to create soft, irregular density variation breaks up the visible evenness of the front edge and makes it read as more organic in photos.
Styling the hair so it falls naturally over the front hairline rather than being swept back to expose the full hairline reduces how much of the edge is visible in photos. Fringe styles and natural side-swept styling are significantly more forgiving in photography than styles that expose the full hairline to direct light from the front.
Raising the issue at the next re-bonding appointment allows the technician to assess whether the hairline positioning and density design can be adjusted for a more natural edge.
Cause 5: Product Build-Up Creating Unnatural Shine
Styling products particularly anything with a high shine finish, wax-based formulas, or silicone-heavy serums produce a surface sheen on the hair that reads as natural in person but as artificial shine in photographs. This is because cameras capture the light reflectivity of the hair surface literally, without the eye’s ability to process shine as normal.
Natural hair has variable reflectivity. Different strands catch light differently depending on their position, curl, and texture. A hair system with heavy product build-up has a more uniform, high-reflectivity surface that reads as unnatural in photos because the shine is too consistent and too bright.
This is compounded by product accumulation across multiple days of wear each application adds to the surface coating, and the cumulative shine becomes more visible as the bond cycle progresses.
What helps:
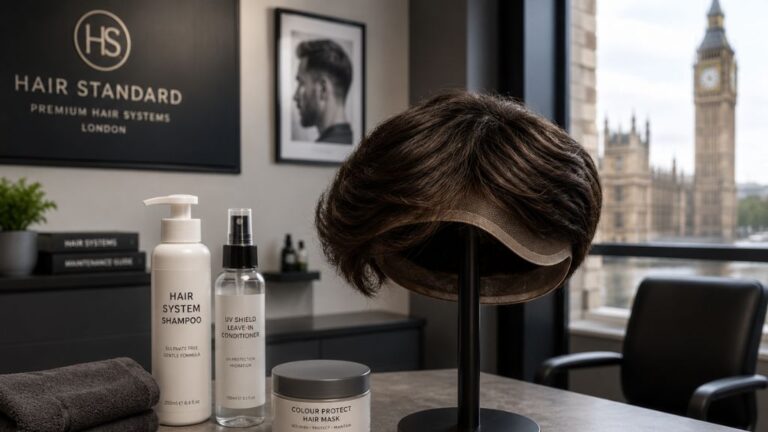
Use lightweight, matte-finish styling products for any occasion where photos are likely. Avoid silicone-heavy serums, high-shine pomades, and finishing sprays with a gloss or mirror finish before photography.
A light dusting of translucent setting powder or a dedicated hair matte product across the surface of the system before photos significantly reduces unwanted shine without affecting the style. This is the same technique used in professional photography and video work reducing reflective surfaces to prevent unwanted shine in the final image.
Cause 6: The System Has Aged and the Hair Texture Has Changed
A system toward the end of its lifespan often shows its age more obviously in photos than in person. As the hair cuticle degrades over months of washing, styling, and environmental exposure, the hair develops a frizzy or dull appearance that reads as synthetic or unnatural in the flat capture of a photograph.
The specific changes that show up in photos:
- Individual strands beginning to separate and tangle in a way that looks unnatural from certain angles
- Colour loss producing a brassy or faded appearance that is more visible in photos than in the mirror
- The hair moving differently from natural hair at the perimeter lying slightly differently, reflecting light at different angles in a way the eye processes as context but the camera captures literally
What helps:
If the system is approaching the end of its lifespan, photos will continue to reveal its age more than in-person wear does. The fix is replacement with a new unit rather than a styling adjustment. If colour loss is the primary issue, see our guide on why a hair system loses its colour for the specific causes and fixes.
If the system is relatively new but already showing texture changes, the cause is almost certainly the care routine of incorrect shampoo, heat damage without protection, or chlorine exposure producing premature ageing. Our complete maintenance guide covers the full routine that prevents this.
What to Do Right Before a Photo
For occasions where photos are expected events, family gatherings, professional headshots a brief preparation routine significantly reduces the chance of the system being visible in the images:
1. Apply hairline concealer. A skin-tone matched concealer pressed lightly along the front edge of the base reduces the contrast between the base material and skin at the hairline the area most likely to show under direct flash.
2. Switch to a matte styling product. If you normally use a finishing product, swap it for a matte alternative before the event.
3. Style to cover rather than expose the hairline. A style that brings hair forward or to the side at the temples is more forgiving in photos than one that sweeps everything back and exposes the full hairline to direct light.
4. Position yourself relative to light sources. Frontal light from directly ahead a window, a camera flash, overhead venue lighting is the most exposing for a lace hairline. Positioning yourself at a slight angle to the main light source so the light comes from the side creates shadows that naturally disguise the base edge.
5. Request ambient rather than flash photography. Most people have enough influence over casual social photography to ask for flash to be turned off. In natural ambient light, a correctly fitted and maintained system photographs significantly more naturally than under direct flash.
Frequently Asked Questions
Why does my hair system look obvious in photos but natural in the mirror?
Cameras capture light literally and from a fixed angle, so they do not process context in the same way human eyes do. Flash photography eliminates the shadows that make hair look three-dimensional, while direct frontal light can make fine lace bases more visible. A system that looks natural in person can therefore reveal the base edge, an uneven colour match, or unnatural shine in photographs taken under flash or direct light.
Why does the lace show in photos?
Direct flash can make fine lace more visible because the material reflects light in a way that creates a noticeable line around the hairline edge. This is most pronounced at the front, where the lace is thinnest. Turning off the camera flash, positioning yourself at an angle to the light source, and applying a suitable hairline concealer before photography can all help reduce the visibility of the lace.
Why does my hair system look shiny in photos?
Styling products such as silicone serums, high-shine pomades, and wax-based formulas can create a surface sheen that cameras capture as unnatural shine. Natural hair has variable reflectivity, while product build-up can create a more uniform shine that looks artificial in photographs. Try using matte-finish styling products before photography and, where appropriate, a small amount of translucent powder to reduce surface shine.
Why does my hair system colour look different in photos?
Colour matching is lighting-dependent. A system matched under warm indoor lighting may look slightly different under cool outdoor daylight or camera flash. This can become particularly noticeable when the system hair and your natural hair at the sides and back appear together in the same photograph. Accurate colour matching under natural daylight is the best way to address the problem at its source.
Can I do anything before a photo to make my hair system look more natural?
Yes. Apply a hairline concealer along the base edge, use a matte styling product rather than a shine-finish formula, and style the hair so it falls naturally around the hairline rather than exposing the base directly to the camera. If you control how the photograph is taken, turn off the flash and position yourself slightly to the side of the main light source rather than directly in front of it. These small adjustments can produce a significantly more natural-looking result.
Why does my hair system parting look unnatural in photos taken from above?
Overhead or downward-facing photos can expose the scalp visible along the parting line. The base material may reflect overhead light differently from natural scalp, creating a flatter or slightly artificial appearance. A suitable scalp concealer applied to the visible parting line before photography can help reduce the contrast between the base and natural skin.
Does the type of base affect how natural it looks in photos?
Yes. Fine French lace can look exceptionally natural in person but may be more susceptible to appearing semi-transparent under direct flash. Skin and PU bases are less likely to show through in the same way because the material is more opaque. If photography is a significant part of your life, such as for professional headshots or regular events, it is worth discussing your photography needs with your hair system technician when choosing a base type. See our types of hair replacement systems guide for a full comparison.
Book a Check-In If the Issue Is Consistent
If your system consistently looks unnatural in photos despite adjusting your styling routine and lighting habits, the cause is likely at the fitting level hairline design, colour match, or base choice rather than something that can be managed with products alone.
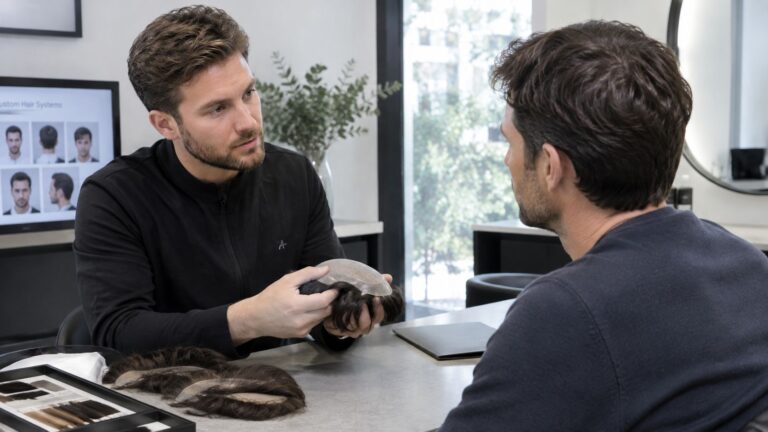
Book an appointment at The Hair Standard in London. We can assess the specific issue in person whether the hairline edge, colour match, or base material needs adjustment and advise on what would produce a more natural result both in person and in photographs.
For the full maintenance routine that keeps the system looking its best day to day, see our complete maintenance and aftercare guide. For the broader picture of what causes a hair system to look unnatural, see our guide on why a hair system looks fake.